Natalie, over at her "Johnny in a Dress" blog, posts a wonderful demonstration
for this darling cork board.
I've just got to try this and share it with you!
And I know just the spot.
Upstairs in my 5-yr-old's room I had the brilliant idea
to tack up a package of these cork sheets.
You've seen them, they come with their own two-sided foam stickers
to help you complete the project.
Great idea for fun photos, various projects, and all the wonderful creations
that we can't bear to throw away.

One problem...
The foam tape sticks very well to the wall, but not so well to the cork.

Enter Natalie's even better idea!
I knew just the frame to use.
I picked out some fun fabrics and starched the living daylights outta them.
I want to discourage sags and wrinkles.


I'm using the same cork sheets that I removed from the wall.
Measure them to fit. Double the thickness
(It bugs me when there isn't enough room for the pins).
Be sure to keep them a tiny bit smaller than the frame backing.
Take my word here, I had to re trim mine because it was too big and wouldn't fit.
With the trim it fit nice and snug.


Whatever you use to tack your fabric down, bring the corners in first.
I used our old stand-by so that I could more easily change the fabric in a few years when the polka dots are "stupid." (This is my fifth child, I'm trying to be prepared.)


Tuck your fold in to prevent wrinkles and help keep things pulled taught.

At the last minute I decided to add a pocket.
After starching this, too, I folded it in half
and wrapped it around along with the other fabric.

Well, we won't be seeing the back.

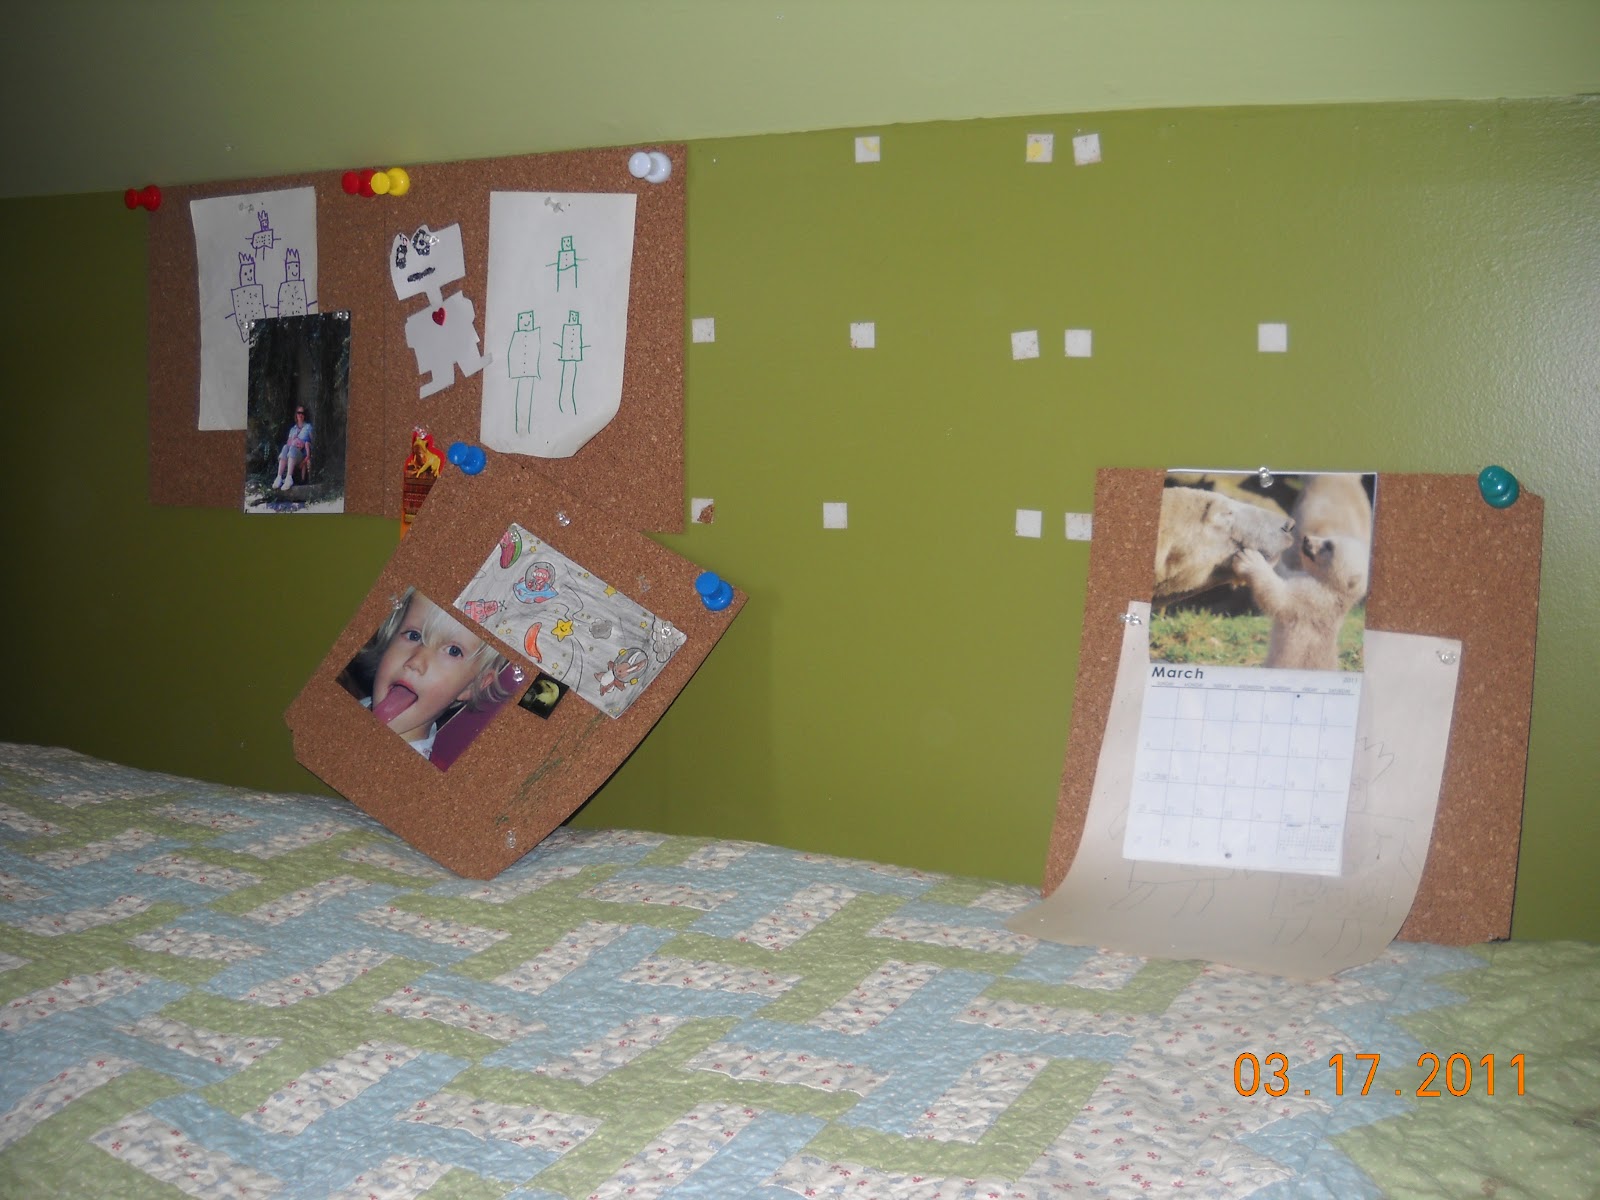
Coincidentally, we chose St. Patrick's Day to work on our boy's green wall.
It's not your monitor, we're really all green.

We had some difficulty removing all that terrible sticky tape.
Honestly, what ended up working best was scraping with pocket knives,
then rubbing with nail polish remover
(there goes my daughter's perfect green manicure.)

Naturally, the paint rubbed off a bit, too.
But the awful tape was gone! Hallelujah!
All that was left was a little wash, sand, and another wash.
Then with one coat of paint
you'd never know there was such a chaos on this poor little wall.

And with a huge "Thank You" to my children
for helping me with this longer-than-expected project,
our youngest member of the family still has a place for his creations.
Nice and tidy.
Perhaps he'll be needing another.

Fantastic idea! So simple, but so functional! Thanks for sharing at H&H's link party!
ReplyDelete